Add a Host
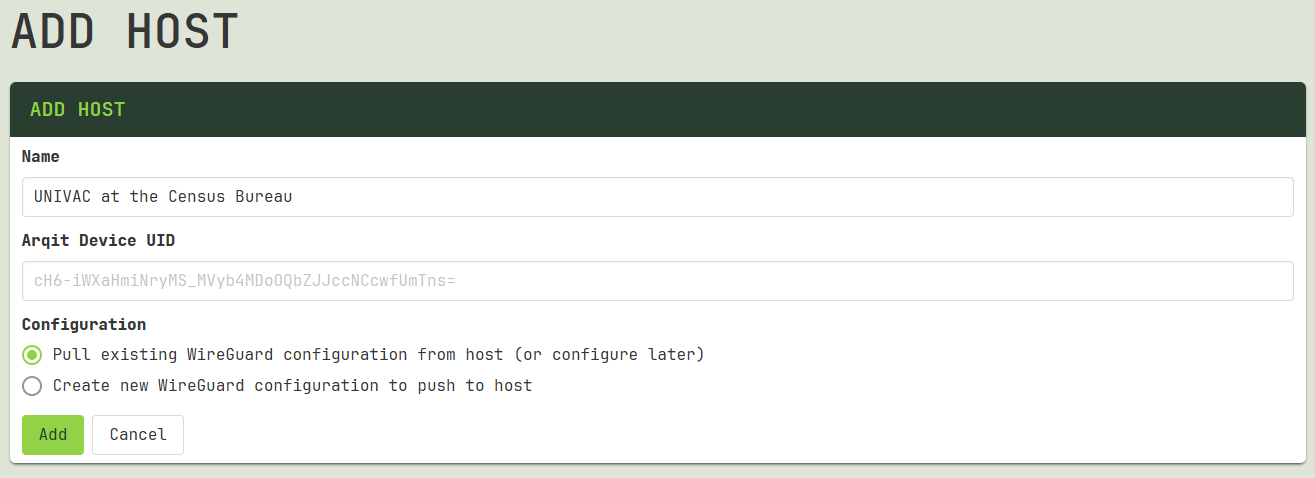
Before you can monitor a host or update its configuration, you must add an entry for the host via the Add Host page in the Web UI.
Note
A host is any computer running an operating system with a network stack, such as a server, laptop, mobile phone, tablet, or Internet-of-Things (IoT) device that has an implementation of WireGuard and Crux VPN installed on it. Refer to the Glossary for a more detailed explanation.
Add Host Page
Follow these steps to navigate to the Add Host page:
- Click the
Hostslink in the header. - Click the icon on the right side of the Hosts panel.

Name
Enter a descriptive name for the host, like “UNIVAC at the Census Bureau”, in the Name field. This name will be used as the display name for the host in the UI. There are no character restrictions, and you can change it later.
Arqit Device UID
If you already know it at this stage, enter the Arqit Device UID in the corresponding field. If this host is running on a new device that has not been registered with Arqit’s SKA-Platform™ (SKA-P) before and the agent has not been installed on the device yet, you likely do not have the UID yet. If your installation of the Crux Web UI is connected to Arqit's API servers, this will be added automatically in the background, after the agent has been installed on the device. The Arqit Device UID can also always be added manually at a later stage.
Configuration
Select the Pull existing WireGuard configuration from host (or configure it later) option if the host already has one or more WireGuard interfaces running. Once you set up the Crux VPN agent on the host, the agent will automatically pull the existing WireGuard configuration from the host.
Select the Create new WireGuard configuration to push to host option if the host doesn’t already have a running WireGuard interface. This option will send you to the Connection Wizard to help you configure a new interface. Once you set up the Crux VPN agent on the host, the agent will automatically push the new configuration to the host.
You can always use the Add Interface Wizard at a later time to set up a new configuration, so if you are unsure which option to choose, select the first option.
Click the Add button to submit the form and create an entry for the host.
Next Steps
- Download the setup files for the host.
- Set up your SKA-P registration credentials.
- Download the agent to the host and run the installer.